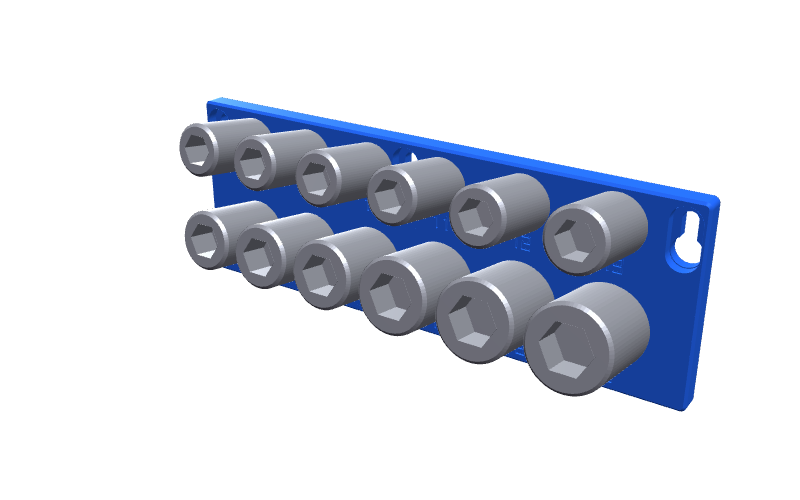
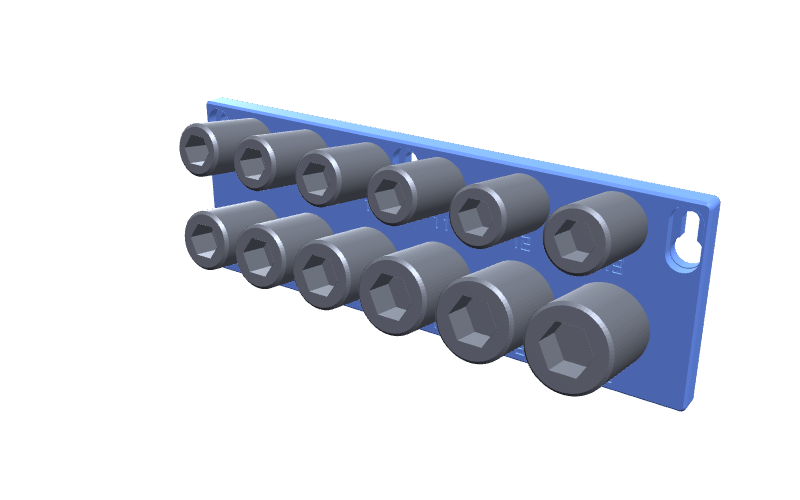
Socket rail
A peg for every socket, in a grid of any size. Hangs flush on keyhole slots and lifts off the wall.
1/4, 3/8, 1/2 driveany grid
Make a socket rail
Workshop storage
One peg per socket, laid out as a grid of any size. It hangs flush on two screws and lifts off when you need the sockets on the job.
Make a socket rail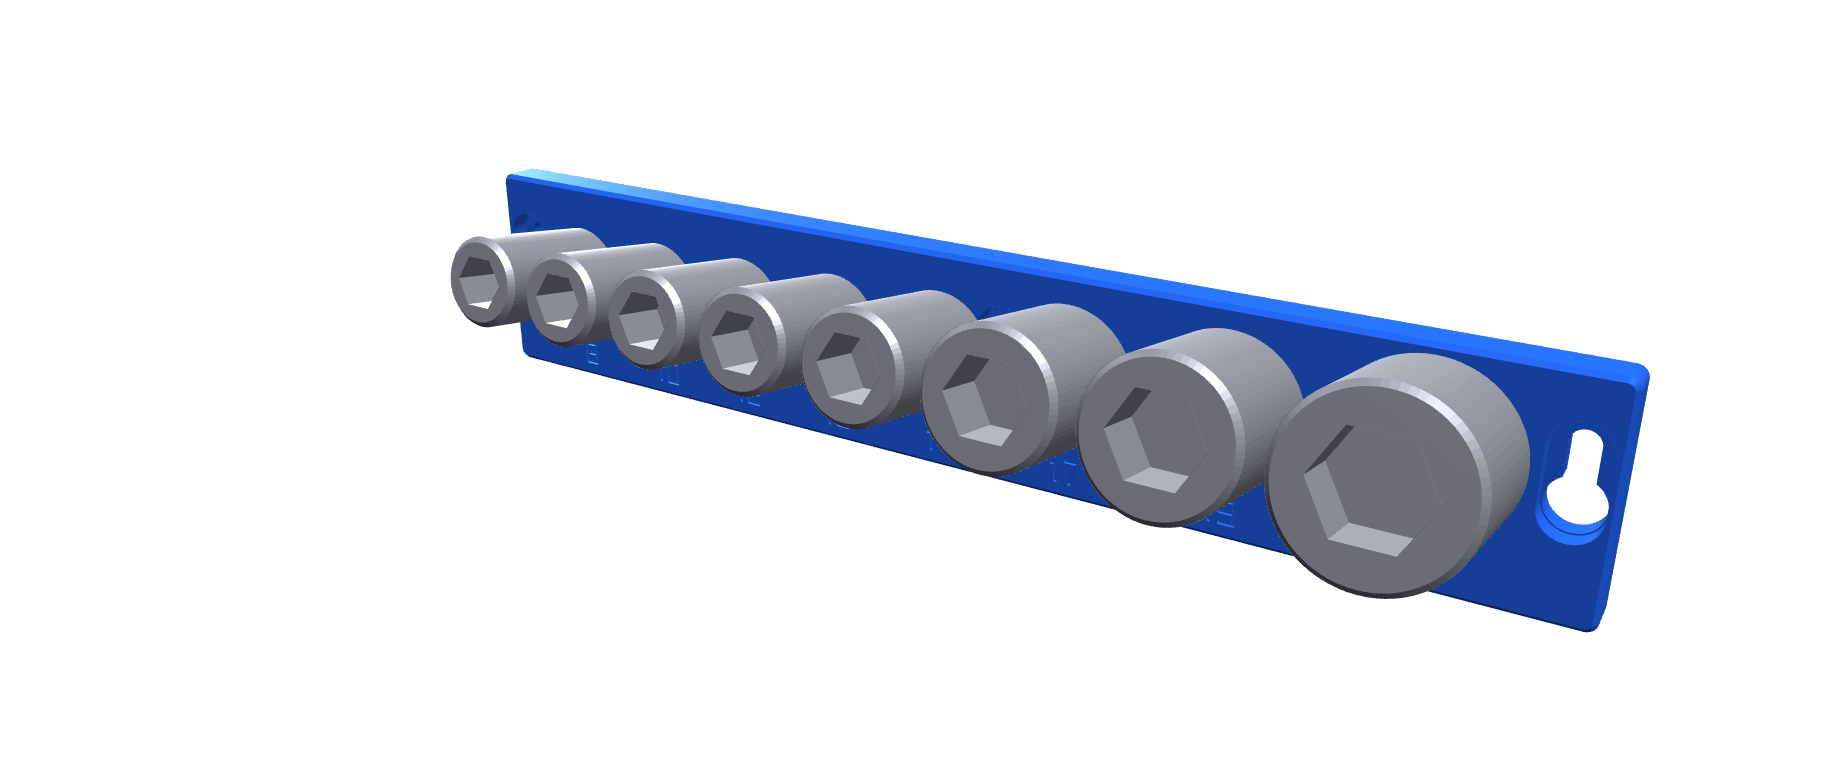
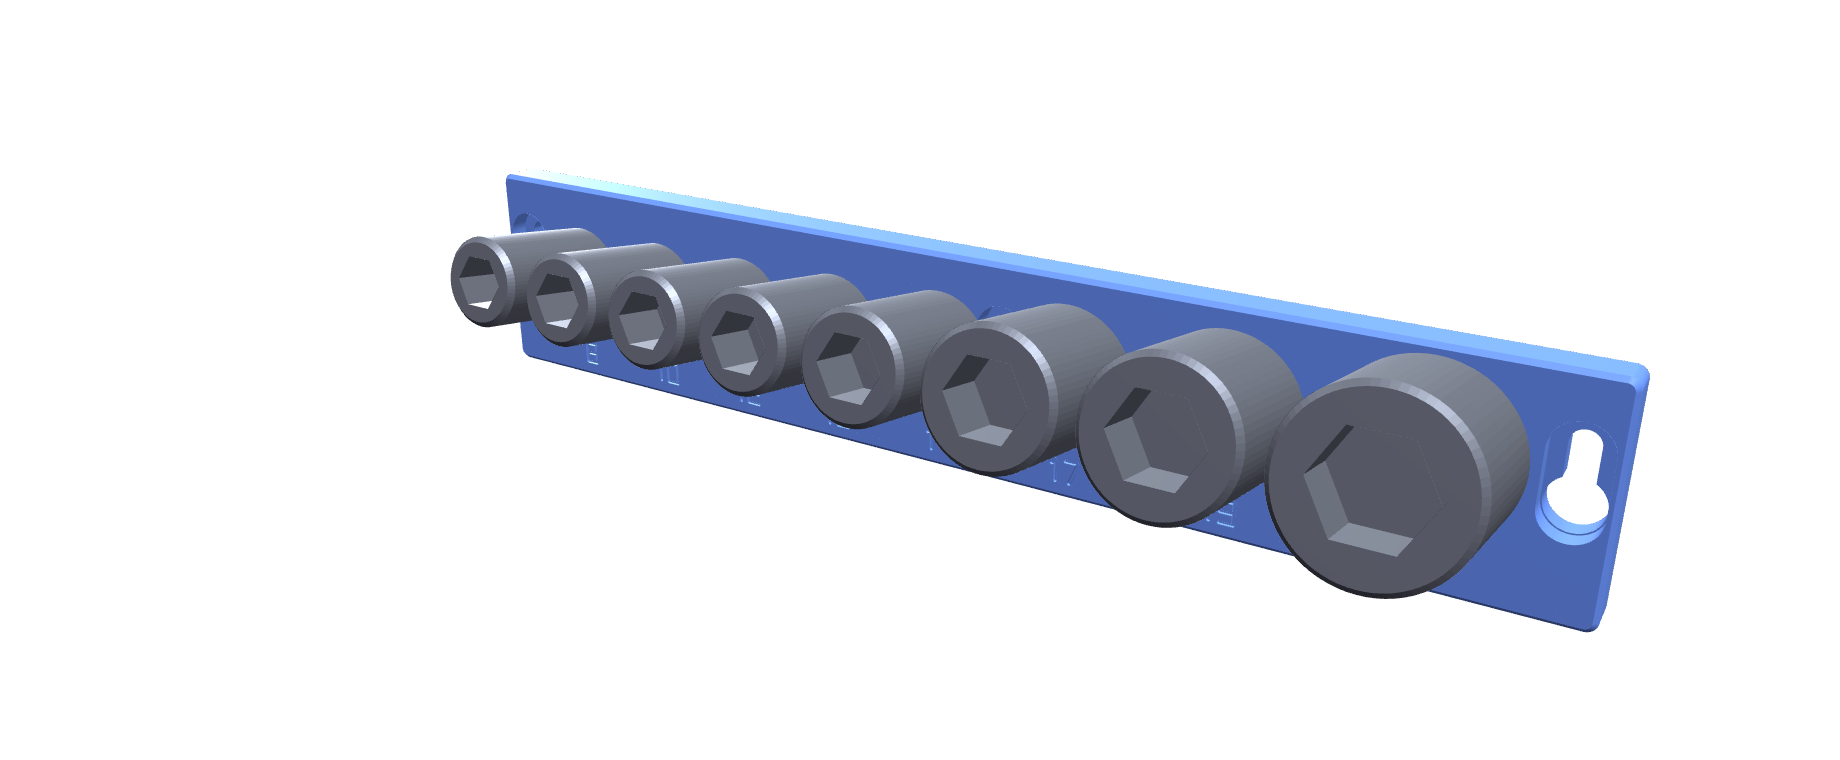
Each one opens a workbench with a live 3D view and an STL download.
A peg for every socket, in a grid of any size. Hangs flush on keyhole slots and lifts off the wall.
Spanners, extensions and screwdriver bits are next.
Start from a common metric or SAE set, then set how many across and how many rows. Check the diameters against your sockets.
One peg and one keyhole. Check a socket clicks on and a screw head drops in before printing the whole rail.
Print the drill template, mark the wall through it, and leave the screws a few millimetres proud. The rail drops onto them.
The generator runs OpenSCAD in your browser, so nothing is uploaded. It is a parametric model: a size change is a setting, not a new design.
The pegs match the drive square (1/4, 3/8 or 1/2 inch), so any socket of that drive fits. Set the outside diameters to your sockets so the spacing is tight but not touching.
No. The detent clip and the upward tilt hold sockets on their own. A small disc magnet in each peg tip makes them harder to knock off when you carry the rail.
Pan head screws, about 4 mm thread with an 8 mm head, left about 2.8 mm out from the wall. Use plugs in masonry.
Most sets fit a 220 mm bed, like a Creality Ender V3. The workbench warns if the rail gets longer than that; use more rows and fewer across.
It is free and runs in your browser. The generator runs OpenSCAD locally, so nothing is uploaded and there is nothing to install.
Hi, I'm Will. I make these for jobs around my own house and garage. Every part is sized to print on a 220mm bed, like a Creality Ender V3.